 When you open the box, you may assume that your PureSleep has arrived broken, if it is in two pieces. Unlike most MADs that arrive as one piece, PureSleep is supposed to have a lower tray and upper tray. For the fitting process, you are going to need a pot, small bowl, slotted spoon, and a stopwatch or secondhand app on your smartphone.
Step 1
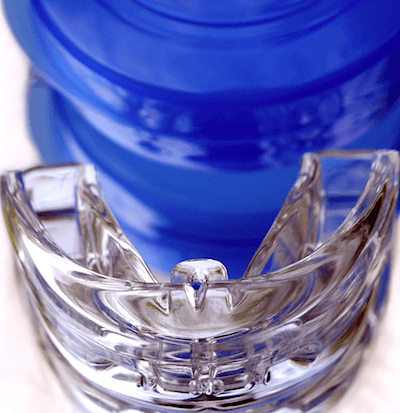
The first step is to decide which setting you want for the jaw advancement feature. The lower piece is designed to extend past the upper piece, but you have three settings, which allow you to decide exactly how far that extension should be. The two trays will simply click together. Take your time on this part; because once you move on to the next step, you can’t change this setting. I recommend wearing each setting around the house for a while.
Step 2
When you have decided on a setting and snapped the pieces together, put a pot of water on to boil. While you are waiting, fill the bowl with cold water and add an ice cube to make sure it stays cold until you are ready for it.
Step 3
When the water comes to a boil, add the device with a slotted spoon and heat on a low boil for two minutes.
Step 4
When you take it out of the water, give it 15 seconds to cool before placing it in your mouth. When ready, position the upper and lower trays to your upper and lower jaw and bite down. Hold this bite for 45 seconds. You will be creating a mold of your teeth in the pliable material. After 45 seconds, submerge it in the ice water. This will help it to harden faster.
The post PureSleep Fitting Process appeared first on Snoring HQ.
No comments:
Post a Comment